

This website contains affiliate links. As an Amazon Associate, I earn from qualifying purchases.
10 DIY Valentine Decorations You Can Make at Home
Valentine’s Day is a wonderful excuse to transform your home into a cozy, love-filled haven. DIY Valentine decorations are the perfect way to add a personal and creative touch while staying on budget. Whether you’re hosting a romantic dinner, a Galentine’s bash, or simply want to get festive, these 10 easy-to-make decorations will set the mood beautifully.
1. Paper Heart Garland
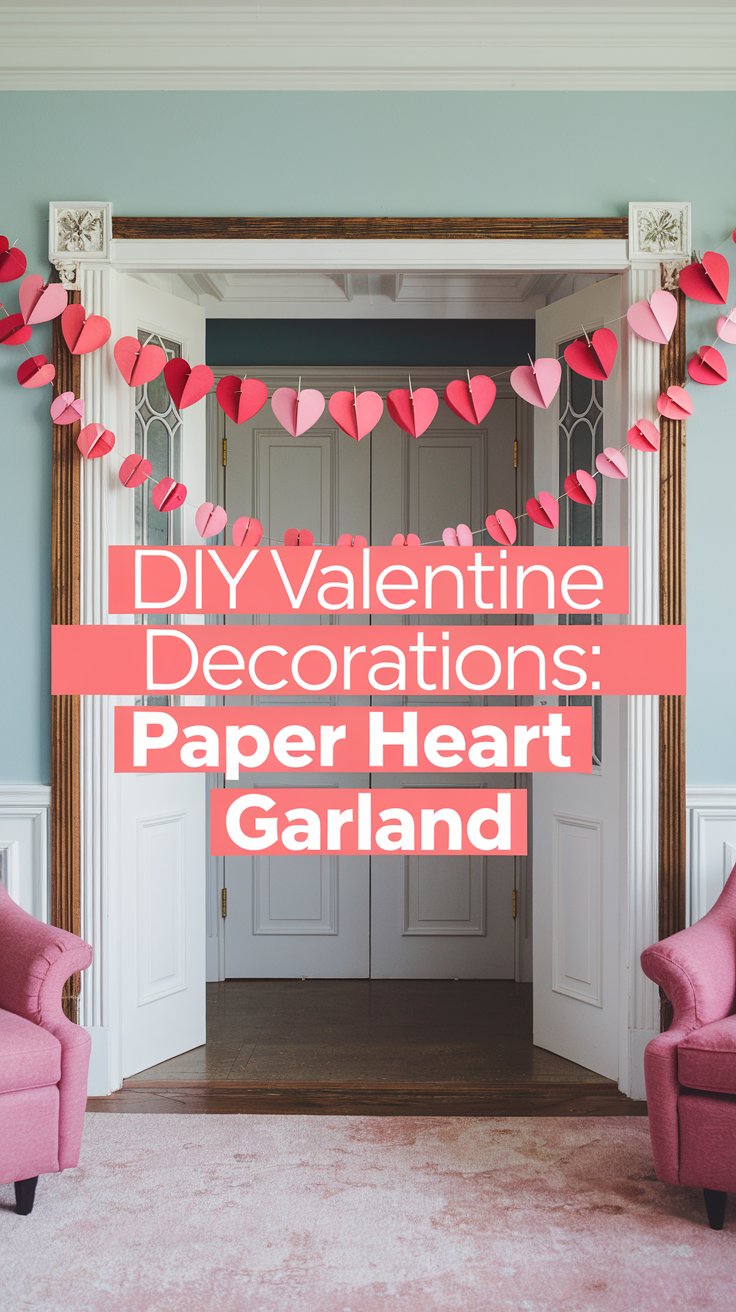
A paper heart garland is an easy and inexpensive way to bring a Valentine’s vibe into any room. With just a few supplies, you can create a whimsical decoration that’s perfect for draping across mantels, doorways, or even as a photo booth backdrop. This craft is versatile—change up the colors to match your personal style or theme. It’s also a fun project to do with kids, making it an activity that brings everyone together.
Picture This:
Bright red and pink hearts dangle delicately along your mantel or doorway, swaying gently as they spread Valentine’s cheer.
Materials Needed:
- Colored paper (red, pink, white)
- Scissors
- String or twine
- Glue or tape
Step-by-Step:
- Cut Out Hearts: Fold the paper in half and cut out symmetrical heart shapes. Make as many as you need.
- Attach to String: Punch a small hole at the top of each heart or tape them directly onto the string.
- Hang Your Garland: Drape the garland along a mantel, doorway, or wall to instantly brighten your space.
2. Mason Jar Candle Holders
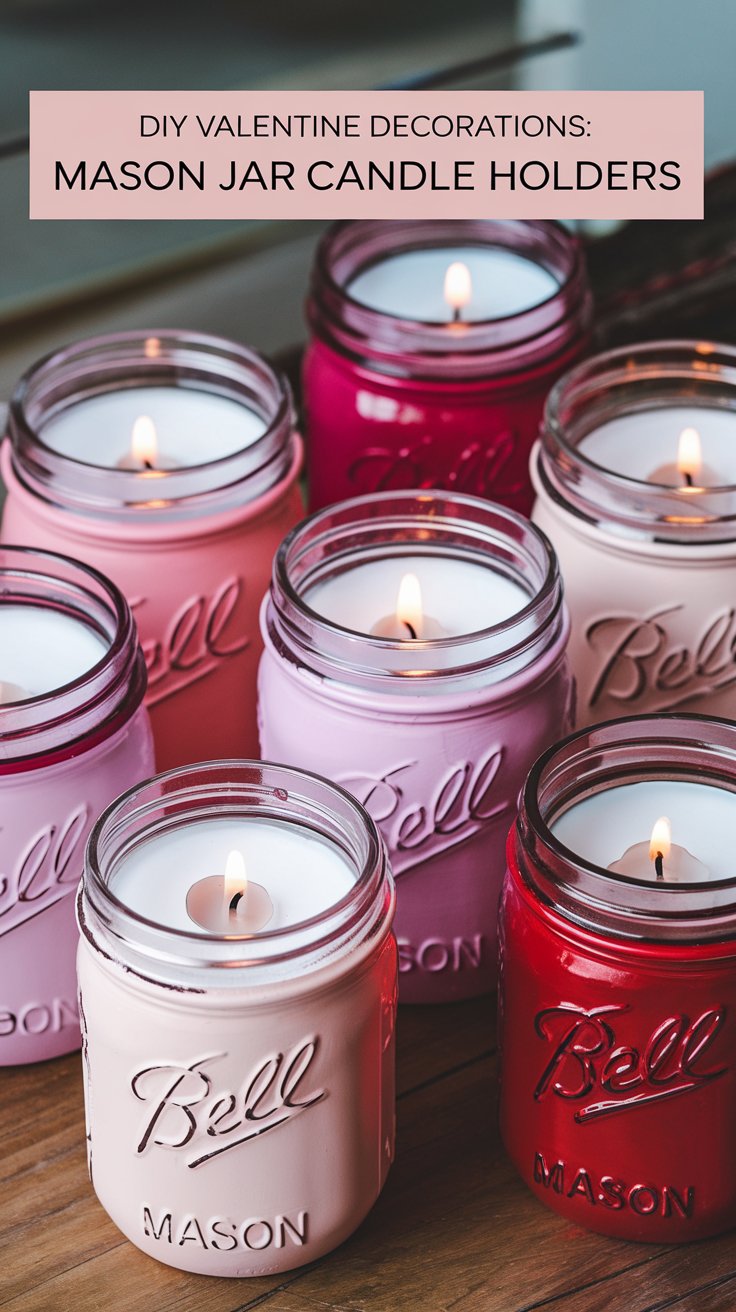
Mason jar candle holders are a great way to add warmth and ambiance to your Valentine’s Day setup. They’re easy to customize, so you can match them to your existing decor. By painting the jars in soft, romantic colors and adding heart-shaped cutouts, you create a glowing decoration that looks stunning on dining tables, nightstands, or window sills. Use LED candles for a safe, long-lasting glow, or tea lights for a more traditional touch. These jars are not just decorations—they double as thoughtful gifts for loved ones!
Picture This:
Softly glowing mason jars painted in shades of pink and white, with heart-shaped cutouts casting a warm, romantic light.
Materials Needed:
- Mason jars
- Acrylic paint (pink, red, white)
- Heart stickers or stencils
- Tea lights or LED candles
- Ribbon or twine
Step-by-Step:
- Paint the Jars: Apply a layer of paint to each jar. Use heart stickers or stencils to create cutout designs.
- Add Finishing Touches: Tie a ribbon or twine around the rim of each jar.
- Insert Candle: Place a tea light or LED candle inside, and enjoy the glow.
3. Love Letter Pillows
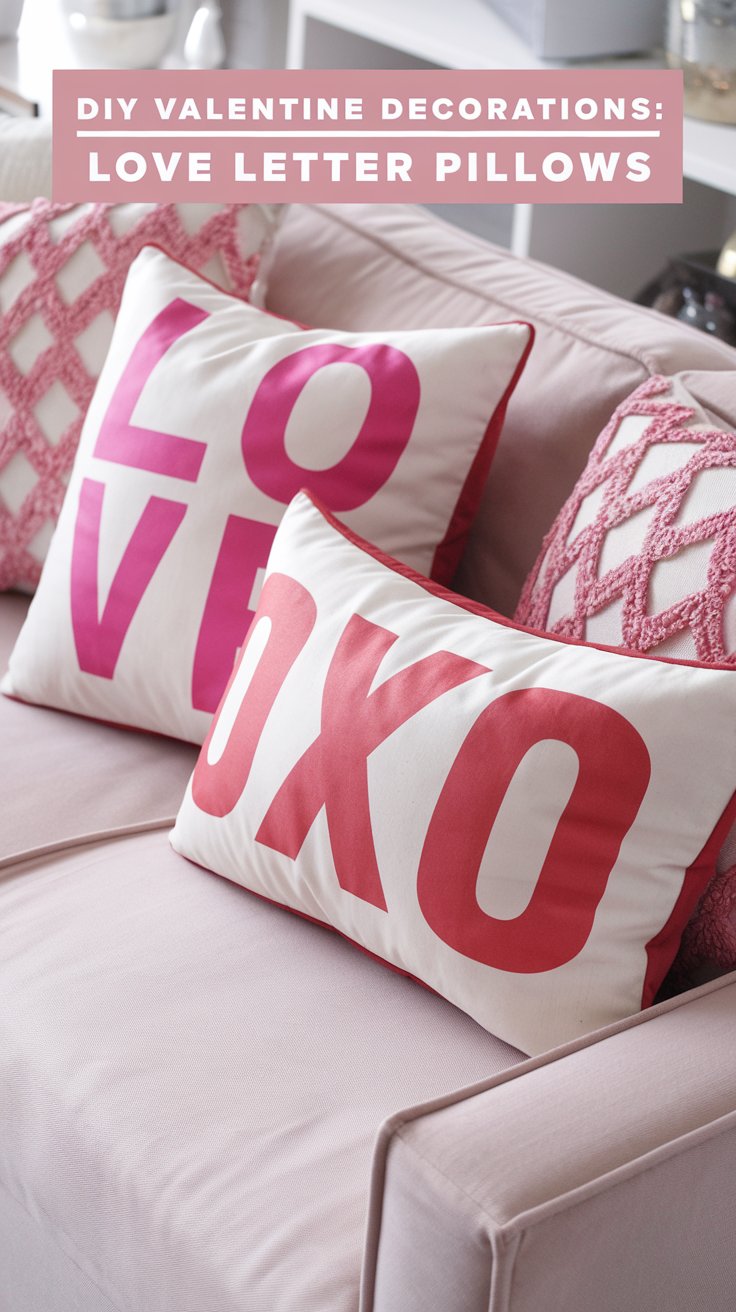
If you’re looking to bring Valentine’s Day into your living space in a subtle way, updating your throw pillows with romantic designs is the perfect solution. These pillows can feature bold, graphic letters like “LOVE” or soft, delicate patterns that complement your existing decor. Using fabric paint or iron-on letters makes this a simple project with professional-looking results. No sewing is required, so it’s a beginner-friendly way to make your home feel festive and cozy. Plus, it’s a fun way to try out different designs without committing to buying new pillows!
Picture This:
Soft throw pillows that spell out “LOVE” or “XOXO” in bold, vibrant letters, adding a cozy and stylish feel to your space.
Materials Needed:
- Plain throw pillows or pillow covers
- Fabric paint or iron-on letters
- Stencils (optional)
- Paintbrush
Step-by-Step:
- Design Your Letters: Use stencils to trace letters like “LOVE” or “XOXO” onto your pillow cover.
- Apply Paint or Vinyl: Fill in the letters with fabric paint or iron-on vinyl for a crisp look.
- Let Dry: Allow the paint to dry completely before using your pillows.
4. Candy Heart Centerpiece
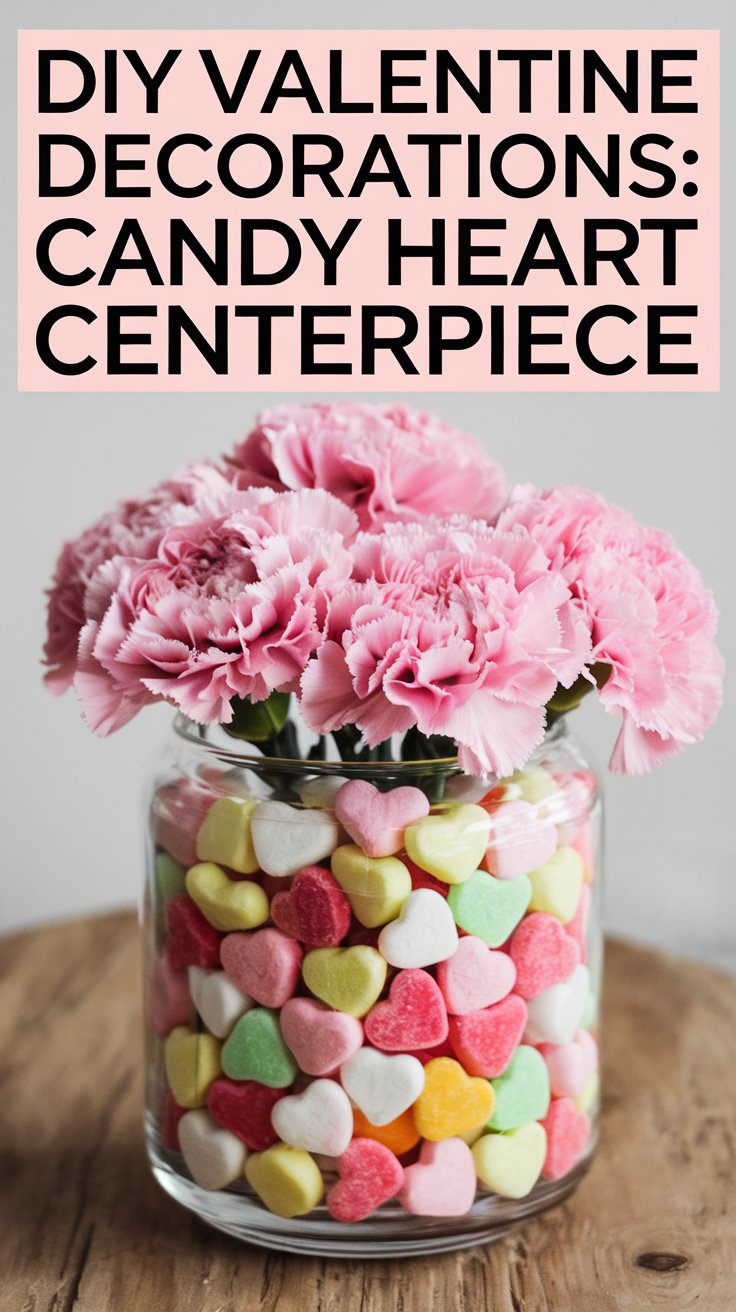
Candy hearts aren’t just for snacking—they’re also a colorful and playful way to create a stunning Valentine’s Day centerpiece. Pair them with fresh flowers for a look that combines sweetness and elegance. The clear vase allows the pastel hues of the candy to shine through, making it an eye-catching decoration for your dining or coffee table. You can also substitute the candy with small wrapped chocolates or colorful beads if you prefer a less edible option. This project is quick, simple, and sure to delight your guests.
Picture This:
A vase brimming with pastel candy hearts, topped with a fresh bouquet of pink carnations, creating a cheerful centerpiece for your table.
Materials Needed:
- Clear glass vase
- Conversation hearts candy
- Fresh or faux flowers
- Smaller container (optional)
Step-by-Step:
- Prepare the Vase: Fill a clear vase with conversation hearts. If using fresh flowers, place a smaller container inside to hold water.
- Add Flowers: Arrange your blooms in the center.
- Display: Place your centerpiece on a dining table or mantel for a pop of color.
5. Felt Heart Wreath
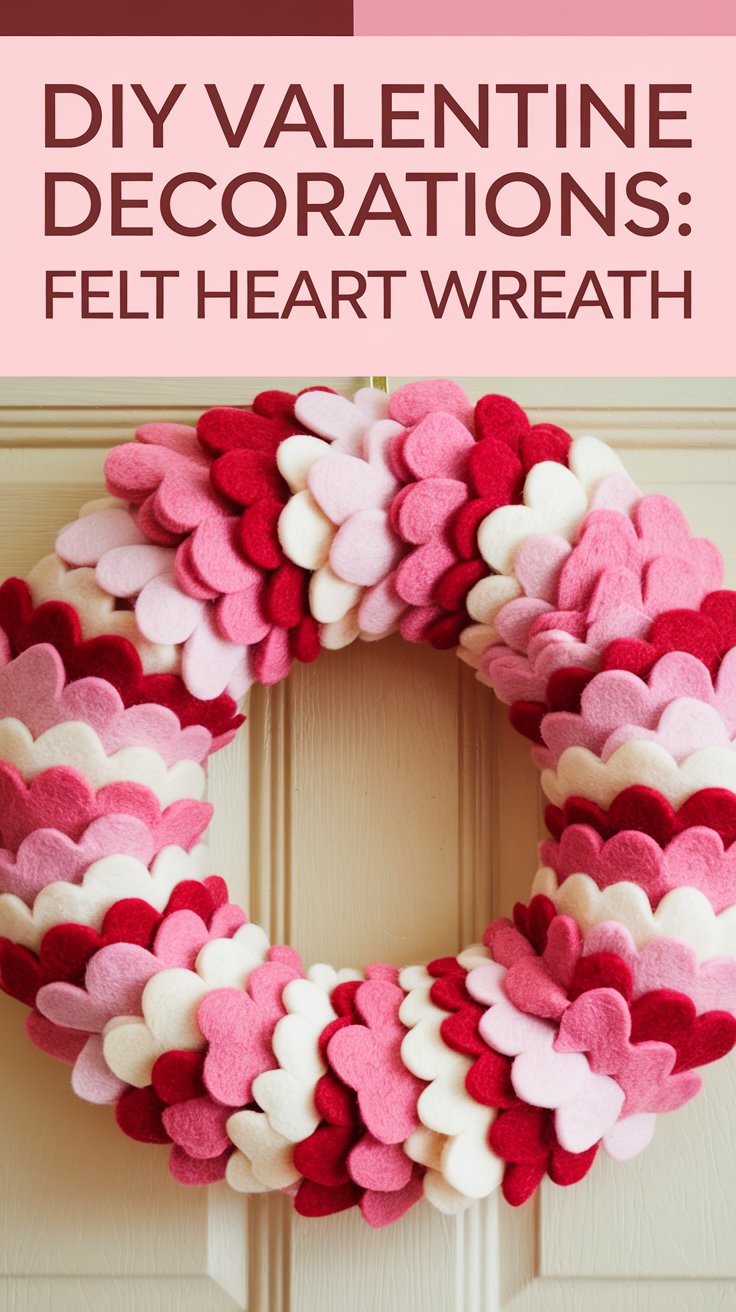
Welcome guests with a handmade felt heart wreath that’s as cozy as it is festive. Using felt gives the wreath a soft texture, while layering hearts in various colors adds depth and dimension. This DIY project is highly customizable—you can use traditional Valentine’s hues or experiment with a more unique palette to match your personal style. It’s lightweight and easy to hang, making it perfect for front doors, walls, or even as a centerpiece on a table. Best of all, it’s durable enough to reuse year after year.
Picture This:
A foam wreath adorned with soft felt hearts in shades of pink, red, and white, hanging on your front door with a satin ribbon.
Materials Needed:
- Foam wreath base
- Felt sheets (red, pink, white)
- Scissors
- Hot glue gun
- Ribbon
Step-by-Step:
- Cut Out Hearts: Cut heart shapes from felt in various sizes and colors.
- Attach to Wreath: Use a hot glue gun to secure the hearts onto the foam base, overlapping them for fullness.
- Add Ribbon: Attach a ribbon for hanging and display your wreath on the door.
6. Valentine’s Day Tree

Why stop at Christmas trees? A Valentine’s Day tree is a whimsical way to keep the festive spirit alive into February. Repurpose a small artificial tree or gather branches in a vase and adorn them with heart-shaped ornaments, ribbons, and fairy lights. This decoration works well as a centerpiece for a table or a stand-alone accent in a corner of your living room. It’s a unique take on Valentine’s decor that will surprise and delight everyone who sees it.
Picture This:
A charming tree decorated with heart-shaped ornaments, twinkling fairy lights, and soft ribbons, standing proudly on a side table.
Materials Needed:
- Small artificial tree or bare branches
- Heart-shaped ornaments or cutouts
- Fairy lights
- Ribbon
Step-by-Step:
- Set Up the Tree: Place your tree or branches in a sturdy vase or stand.
- Decorate: Hang heart-shaped ornaments, wrap fairy lights, and tie on ribbons for added charm.
- Display: Place the tree in a prominent spot for maximum impact.
7. DIY Cupid’s Arrows
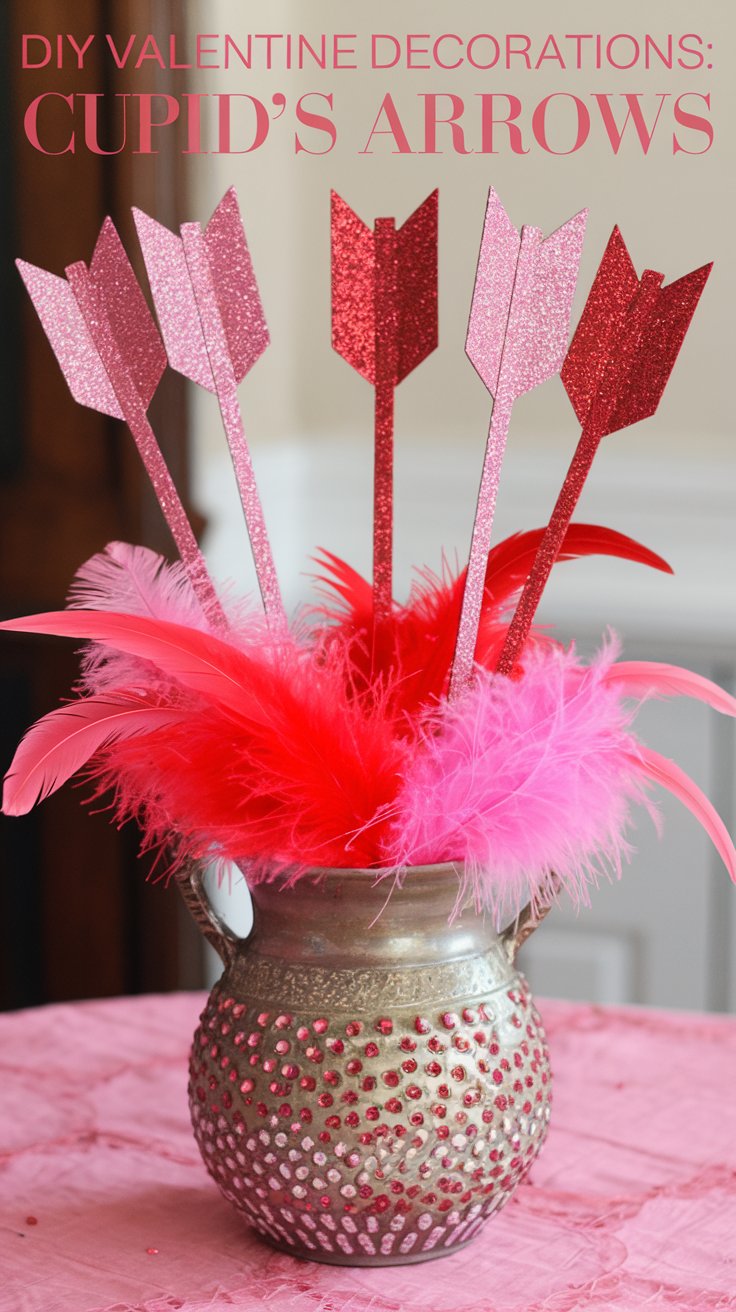
Create playful Cupid’s arrows to add a touch of charm to your Valentine’s Day setup. These can be used as table decorations, party favors, or even part of a centerpiece. With just dowels, glitter paper, and feathers, you can craft these adorable arrows in no time. They’re easy to make and versatile in use—scatter them across the table, place them in vases, or attach them to Valentine’s Day cards for an extra special touch.
Picture This:
Sparkly arrows with glittery tips and feathered ends, arranged in a vase or scattered across a table.
Materials Needed:
- Wooden dowels or skewers
- Glitter paper
- Feathers
- Glue
Step-by-Step:
- Create Arrow Tips: Cut arrowhead shapes from glitter paper and attach them to one end of the dowel.
- Add Feathers: Glue feathers to the opposite end to create the tail.
- Display: Arrange the arrows in a vase or use them as table decor.
8. Heart-Shaped Photo Collage
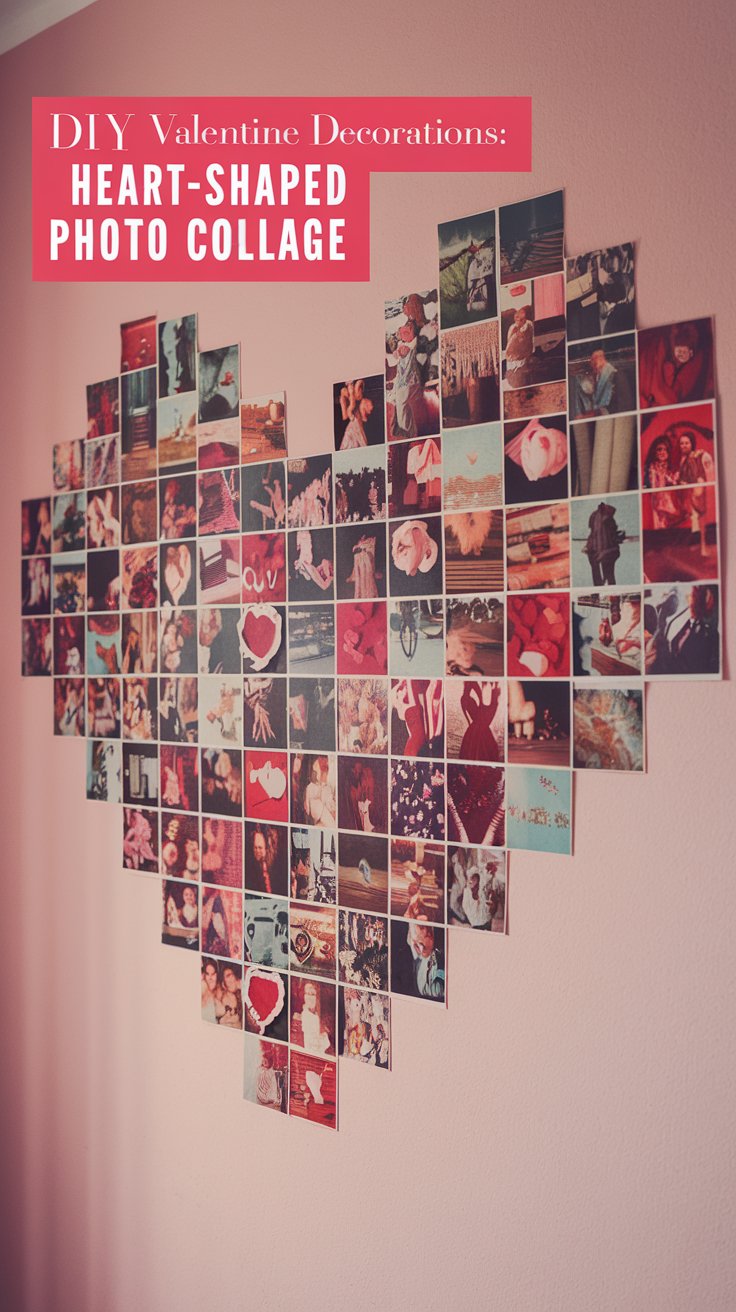
Show off your favorite memories in a creative and sentimental way with a heart-shaped photo collage. This DIY project turns cherished photos into a beautiful wall display that celebrates love and togetherness. It’s perfect for highlighting special moments with family, friends, or a partner. The collage works as a unique decoration for Valentine’s Day, but it’s also something you can keep up year-round as a tribute to your favorite memories.
Picture This:
A collection of your favorite photos arranged in the shape of a heart on a blank wall, featuring happy moments and loved ones. It’s a beautiful reminder of cherished memories.
Materials Needed:
- Printed photos (use a mix of sizes)
- Washi tape or adhesive putty
- Scissors
- Ruler
Step-by-Step:
- Choose Your Photos: Select your favorite pictures and print them in a consistent size for a uniform look.
- Arrange on the Floor: Lay out your photos on the floor in a heart shape to plan the design.
- Attach to the Wall: Use washi tape or adhesive putty to carefully secure each photo to the wall, starting from the center and working outward.
9. Valentine’s Day Shadow Box
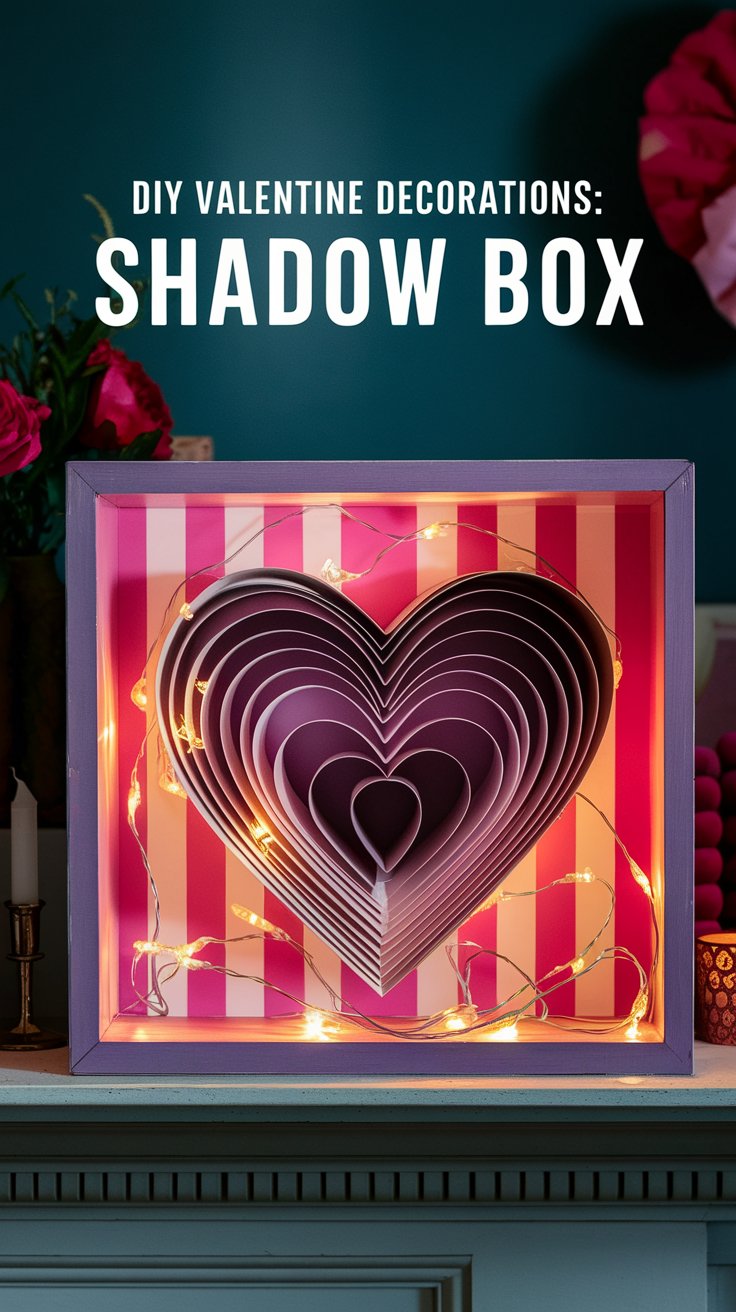
Create a Valentine’s Day shadow box to display a beautiful and safe decoration without the worry of candles or open flames. Shadow boxes are customizable and can be filled with items like paper hearts, romantic quotes, fairy lights, or small keepsakes. This decoration works as a centerpiece, mantelpiece, or even a thoughtful gift for someone special. The best part? It’s completely safe and can be reused for future occasions by swapping out the contents.
Picture This:
A shadow box filled with layers of delicate paper hearts in shades of pink and red, with soft fairy lights woven through, glowing gently on a bookshelf or mantel.
Materials Needed:
- Shadow box frame
- Colored paper or cardstock
- Decorative elements (e.g., mini flowers, faux pearls)
- Battery-powered fairy lights
- Glue or adhesive dots
Step-by-Step:
- Prepare the Shadow Box: Remove the backing and glass panel from the shadow box.
- Create the Background: Cover the inside backing with patterned paper or cardstock in Valentine’s colors.
- Add Decorative Layers: Attach paper hearts, small flowers, or other Valentine-themed items in layers to create depth.
- Insert Fairy Lights: Arrange the battery-powered fairy lights around the edges or through the decorations.
- Assemble and Display: Reattach the glass panel and backing, turn on the lights, and place the shadow box where it can shine.
10. DIY Love Sign

A bold “LOVE” sign makes a stunning statement piece for Valentine’s Day. Whether you place it on your mantel, hang it on the wall, or use it as part of a photo backdrop, this decoration is sure to catch everyone’s eye. Using wooden or cardboard letters lets you personalize the design with paint, glitter, or even fabric. It’s a quick and easy way to add a festive touch to your home while allowing your creativity to shine.
Picture This:
Large painted letters spelling “LOVE” are displayed on a fireplace mantel, surrounded by fairy lights and greenery, adding a bold and festive touch to your decor.
Materials Needed:
- Wooden or cardboard letters
- Acrylic paint or spray paint
- Paintbrush
- Glitter (optional)
Step-by-Step:
- Paint the Letters: Use acrylic or spray paint to coat each letter in your chosen color. Allow them to dry.
- Add Glitter (Optional): For extra sparkle, apply glue to the edges of the letters and sprinkle glitter over them.
- Arrange and Display: Place the letters on a flat surface like a mantel or shelf, or attach them to a wall.
Final Touch
With these 10 DIY Valentine decorations, your home will radiate love and creativity. Whether you’re hosting a romantic evening or simply celebrating the season of love, these projects will make your space extra special. Grab your materials, get crafty, and enjoy making your Valentine’s Day one to remember!